Showing posts with label DIY Projects. Show all posts

Saturday, November 28, 2015

DIY Hair Pomade Recipe


So Wesley, being the absurdly cool 3 and a half year old that he is, has a pretty snazzy haircut.  It's technically an undercut, I think.  Basically it's buzzed all around and long on top.  Because he inherited his father's super fine hair it needs product with some serious hold to style it.  Product with serious hold that you buy usually either a) is a shitstorm of chemicals or b) is very expensive (and sometimes both) so I decided to try my hand at making my own.

When I do DIY stuff like this I really only do it to either save money or minimize the chemicals in our house.  So when I look up a recipe on Pinterest and it has 37 different ingredients that just doesn't work for me because that gets expensive! So I made my own simplified version.

Supplies
Beeswax (I got mine here, but if you can get it locally I totally recommend that!)
Coconut Oil
*optional* Essential Oils (I pretty much exclusively use Young Living oils because, well, I sell them!  If you need information on any Essential Oils I'd love to help you out)
Double Boiler (I just use a Pyrex bowl on a sauce pan, because I'm fancy like that)
Container (I used a mason jar)

So you'll need equal parts beeswax and coconut oil.  For a single batch a quarter cup of each works well for me.

If you're rigging a makeshift double boiler like me, put enough water in your pan that it barely touches your bowl when it's place on the top.  Bring water to a bowl.  Place bowl on top.  Bring the heat of the burner down to low.  Et voila.  A super fancy double boiler.

First melt the beeswax because it will take a bit longer to melt than the coconut oil...
Throw in your coconut oil...
Once it's all melted pour it into your container and add your essential oils (if you're using any)...
I'm aware I need a shorter mason jar, I forgot to get one.  When I eventually remember I'll switch over.

I added five drops each of Cedarwood, Frankincense, and Lavender.  For one thing, I like the way they smell.  And they'll help keep his hair healthy.

Then you just need to let it solidify.  It really is that easy.

So in hand it feels really smooth, not waxy or sticky.  And once it's in hair it doesn't harden really, and stays pretty malleable.  It's pretty damn fabulous, actually.  If I still had a pixie cut I would totally use it.

He clearly wasn't into me taking photos at that moment.  When I asked him to take a nice picture, this is what I got...

So there you have it!  The simplest DIY hair product you'll ever find.

Do you make any hair products for yourself or your kids?  Would you like to?

In case you were wondering, we actually usually have his hair pulled out of his face in a pony tail.  Because, like I said, Wes is an absurdly cool kid.

Thursday, September 24, 2015

Super Simple Babywearing Costume!


Whether you're a die-hard babywearer or just a "I only wear my baby when I have to" babywearer, odds are, with Halloween coming up you've considered a babywearing costume.  Because let's face it, if it is your kid's first (or even second) Halloween, they're probably going to just end up in a carrier at at least one of the events where you plan for them to be dressed up.

Well, never fear, less-than-crafty-babywearer!  I have a quick, easy, and inexpensive solution for you - a dog costume.

Yes, you read that properly...a dog costume.

Turns out size large dog costumes fit very well over many structured baby carriers.  Here, I'm using a Lillebaby Complete, but many carriers will work.  What's great about the Lille specifically is 1) that the shoulder straps can unbuckle and 2) how the hood attaches.  Any carrier that has arm straps that are not permanently attached to the body of the carrier (any soft structured carrier that has the ability to unbuckle the arm straps or any mei tai) will work easily.  If you have a SSC that the arm straps are fixed, you could make it happen, but it will take more work.

Step one - Unbuckle everything.
No fixed arm straps here! 

Step two - Attach the hood.

So this is super simple in a Lille because they don't use snaps; I was able to take the chin strap of the "hat" part of the costume and feed it through the plastic slide.  If you have a carrier with a hood that attaches with snaps, you could always add snaps to the "hat."  If you don't already have a snap press, that isn't exactly an economical option.  If all else fails you could either ignore the hat completely or just put it on your kid's head directly.  I promise, I won't tell anyone your kid is wearing a dog hat.
I just put each strap through the plastic slides used to hold on the hood
Step three - put the waist straps through the leg holes.

Step four - Pull the front/head end of the costume over the carrier like you were putting a t-shirt on it.  Your baby will not be in the costume at all, only the carrier will.  Pull the arm straps through the arm holes.

If you have a carrier with straps that are fixed to the body panel this won't be possible.  Instead you could cut open the front/arm holes of the costume and pin or use tape to wrap the "arms" of the costume around the arm straps of the carrier.  This isn't ideal, but hey, it's a cheap and adorable costume.  Some dog costumes are actually velcro around the neck, so obviously that would be easier.


If you were able to attach the "hat" as a hood, pull that through!  If not, don't worry about adjusting the costume to try and hide the head hole until it's actually on a person with a baby in it.

And that's it!  You're done!

Oliver doesn't really tolerate hoods (or hats of any sort) so when he's not wearing it I'll just shove it in the head hole of the costume.  I actually used a safety pin to attach the tag of the costume (on the body) to the base of the hat/hood so that there wouldn't be a gap when he was wearing it.  There was no pinning to the carrier just one piece of the costume to the other.


Lucky for us babywearers - people are obsessed with their dogs so there are tons of dog costumes to choose from!  Don't want to be a skeleton like us (which, I got this costume for $6 at Target with a 40% off Cartwheel offer #justtakemymoneytarget)? How about baby is a banana and Dad dresses as a monkey? Or mom is a web and baby is the spider? What about Dad is an apple (or any of the other snacks from The Very Hungry Caterpillar) and baby is the caterpillar? Let me know what you pick in the comments below!

All pictures are my own and none of these links are affiliate links.  I don't make any money off this post, just trying to spread the word!

Wednesday, October 16, 2013

Wear Your Baby Wednesday - Chevron Tie Dye Your Wrap!


My name is Amanda and I have a problem...I'm addicted to dyeing wraps.

Phew!  I feel better after getting that off my chest!

Let's quite the chit chat and get down to business now, shall we?

Supplies:
The key to getting the dye job to turn out in this chevron pattern is precise folding (which is why you need the iron).  I literally ironed a crease in each fold that I did and I do not think it would have been successful (especially with the thickness of the wrap once it was all folded up) if I had skipped this.

As usual, first wash your wrap with textile detergent.  You can use "normal" detergent if you're in a bind, but I'm a better-safe-than-sorry type gal when I'm permanently altering expensive fabrics.

Then you get to folding.  First you're going to accordion fold the entire length of the wrap.  I started with the tapers (which are super long on an Ellevill wrap, by the way) hanging off my ironing board:
Then I reached to the other side and carefully pulled the fabric up to make my first accordion fold:
And I ironed the creases.

Then I continued for the entire length of the wrap being careful to make the folds as equal as possible and ironing in between each fold.
Once it was all folded and ironed I folded up the tapers of the wrap (and you guessed it - ironed those folds as well).


Next you'll take the top corner and fold it at a 90 degree angle.
And iron that crease (yes...you're still ironing ever crease).

Then you accordion fold that corner.

I tried to get more pictures, but because of the thickness of the wrap I couldn't take my hands off of it or else the folds (despite being ironed) came un-done.  All you have to do is continue to accordion fold the rest of the fabric on an angle and then secure it every couple inches with elastics.


The hardest part is over...woohoo!

Before I started this wrap I actually decided to try and "map out" the colors I was planning on using and it was a huge help while I applied the dye.  All I did was take screenshots (by hitting control+print screen) of the color chips from the Dharma Website then arrange them using Paint.  This is the pattern of colors I decided on:

Before you can start applying dye, soak the whole wrap in a soda ash solution for 30 minutes.  While my wrap sits in soda ash I mix my dyes.  And this wrap used a lot of dyes:
The colors were Dharma seafoam, paris green, turquoise, azure blue, wisteria, power berry, and jet black.

Then place your tied up wrap in a bin on top of a rack (so it doesn't end up sitting in dye) and apply your dye using squirt bottles:

Then let it sit.  Some people say overnight is fine.  Some people say 12-18 hours.  I like to let it sit for 18-24 hours just to be safe.

Then it's ready to be rinsed!  I'm a bad person and instead of running water over it to rinse it, I toss it right in the washing machine.  First I did a cycle with Synthropol then I did two full cycles without any detergent to make sure all the dye was out.  When you're removing your elastics, be careful...I've dyed a bajillion things and I still do stupid stuff like splatter blue dye all over my face.

And...you're finished!  Isn't she a beauty?


As usual, if you have any questions feel free to ask!  And don't forget to check out my other dye tutorials and babywearing posts here!!

Wednesday, October 2, 2013

Wear Your Baby Wednesday - Shibori Dye Technique aka MORE wrap dyeing!


Remember that time I told you I needed your help to win a free pod conversion?  Well, I won!  Woot!  And I decided I wanted it to be a rainbow zebra carrier.  Not sure why, but seriously, why not?  Well, it's not like there is a rainbow zebra wrap on the market I could just buy, so I had to dye my own.

This wasn't my first time doing a shibori dye.  I've actually done quite a few from back when I was making and selling ring slings, but I had never done a rainbow one and I had never done a whole wrap (those were just ring sling pieces).  My first attempt I had two things go wrong:

  1. I had every color on hand except red and I was too impatient to wait for professional red to come in the mail so I used Dylon dye (which is perfectly safe for baby carriers but not a "professional" dye) for the red and in the wash it bled on the rest of the fabric making anything white pink.
  2. Because a full wrap is so much longer than just a ring sling piece I had too many layers of fabric using my usual 6 inch PVC pipe and the dye didn't penetrate all the way through so only half the wrap got dyed.

So it looked pretty good until it came out of the wash and only half the fabric was dyed (not enough for a pod, but as you can see there was enough for a ring sling!) and what should have been white was pale pink.  So I started over, and this is where you should start if you want to dye a whole wrap!

Supplies:
**Whenever you are handling soda ash or dye wear gloves and a mask**

If you're only dyeing a ring sling piece a 6 inch PVC pipe should be enough (which you can find at Home Depot or Lowes), if you're dyeing a long wrap you'll need something bigger so the wrap doesn't have as many layers wrapped around it.  I used a trash bin. You want a trash bin that is as close to a perfect cylinder as possible.
Getting Supplies
Before you get started you need to get set up.  Essentially your fabric will be wrapped around your cylinder, scrunched together, then you apply your dye.  Obviously some of the dye will drip off which is why I like to do this in the bath tub which is what the tension rod is for.  You need to cut a hole in the center of the lid and the bottom of the trash bin big enough for the tension rod to fit through so you can suspend your trash bin above the tub.  The Sailor is an overachiever and built a structure out of scrap wood to put in the tub.  This really isn't necessary, a tension rod will work just fine.

Once you have your suspension system set up in the tub wash your fabric and soak it in a soda ash solution  for 30 minutes.

Then you're going to wrap your fabric around the cylinder as tightly as you can.  With the trash can the handles got in the way so I couldn't wrap it as tight as I would have liked but it isn't the end of the world.  Once it is wound around your cylinder put zip ties sporadically every couple inches.  These will be the completely white parts after you're done. (I didn't get a good picture doing this around the trash bin, but the very first picture in the collage above shows exactly what I mean)

Once your zip ties are tightened as tight as you can get them squish the fabric together.
With the trash bin it's important you use zip ties so once you squish the fabric together you can re-tighten them since the bin is slightly smaller at the base then it is at the top.

Then you apply dye using squirt bottles.  You could do all one color.  You could do a mixture of colors.  You could do the whole effing rainbow like me! (I used Chinese Red, Golden Yellow, my orange was just a mixture of those two, New Emerald Green, Electric Blue, and Imperial Purple).

Fun tip - to put the dry dye in the bottles (since the opening is so small) I just make little funnels out of wax paper; the dye doesn't stick to the wax paper at all and I just toss each funnel after each color.

If you're doing a full rainbow like I did, in order to get the spacing right first I did a thin stripe of red and purple, then I split the center with thin stripes of yellow and green...
Then I did the orange and the blue in the middle of the two blank parts and filled everything in so the colors were at least somewhat even.  And I saturated the hell out of that fabric.
The zip ties kinda kicked up dye and may have made a pretty cool looking mess...
Then I waited.  For 24 flipping hours.

I hate waiting, but it's worth it, I promise.

Then, since it was already in the tub I just turned on the water to rinse as much of the dye out as possible.

After I rinsed out most of the extra dye I cut off the zip ties, threw it in the washing machine, and washed it with synthropol.  Then I ran it through a whole additional cycle without any detergent just to be sure it was completely rinsed and dried it as usual in the dryer.

And it was beautiful....

There isn't quite as much white as I would have liked (because the trash bin collapses slightly under the zip ties and I couldn't get a "perfect" wrap around the trash bin since it isn't a perfect cylinder) but the colors are exactly what I imagined.  Once it is converted to a pod with a hood that has a zebra mohawk mane and ears it will be more than obvious that it was meant to be a rainbow zebra.

I mailed it off to Shiny Star Designs today but it'll probably be a while since they just opened up custom slots in mid-September.  I'll be anxious to see it, but it isn't like I can really wear W these days anyway because of my stupid back.  But I'll be sure to share pictures as soon as I get the finished carrier!!

As usual, if you have any questions don't hesitate to ask!  And in case you didn't notice (and you definitely wouldn't if you're viewing in mobile mode) I added another "tab" to the blog specifically for babywearing related posts (including my other dye tutorials) so go check it out here!  And even if you're only stopping by for this tutorial and have no plans of reading any of my other posts do a girl a favor and leave a comment!  It's nice to know when people are actually reading (and even better actually using the tutorials on) my blog!

Thursday, September 26, 2013

Early Potty Learning

The last full day that W was in diapers was September 9, 2013 making him 17 months and 9 days old when he graduated from diapers.  **I don't like the term "potty trained" especially since he is so young; it just has so much pressure along with it.  I just say he's out of diapers when he's awake since he does still wear - and need - a diaper for naps and overnight.**

People are so surprised when they hear that he is out of diapers at his age.  And they either ask me what kind of voodoo magic I used or just attribute it to W being "mature."  I honestly believe most babies could potty train this early if they're given the opportunity to.  If you have a young baby and want to start them on the road to "early potty learning" this is what we did...

I got W a potty when he was about 9 months old.  With BabyDeux I'll probably start even sooner; as soon as he can sit up on his own I'll let him "use" a potty.  When it was convenient for me (as in if I was going to the bathroom, when W was brushing his teeth, when the tub was filling up, etc) I would put him on his potty with absolutely no expectation for him to do anything it was just him getting to sit on a cool new seat with his pants down.
First time on the potty!

I think a key to this is the fact that when I would use the toilet I would bring him with me and put him on his potty.  If I was peeing I would simply tell him, "Mommy is peeing in her potty because she doesn't wear diapers, if you want you could pee on your potty, too" and if I was pooping I would give him the same general explanation.  So he knew what he toilet was for.  It was actually the second day I ever put him on a potty that he pooped!  And I didn't celebrate, I didn't give him a prize, I just said, "wow, you're pooping on your potty instead of a diaper!  What a big boy."  If he went in his diaper  didn't get upset (obviously, he wasn't even a year old yet) I would just simply explain while I changed him, "you peed/pooped in your diaper, I'm going to put a dry diaper on you.  Isn't that more comfortable?"

Within a month he was almost exclusively pooping on the potty.  I rarely changed poopy diapers for the month of February.  It was awesome.

Then we flew home to visit my family at the beginning of March and we both got sick and he was nursing non-stop (so his poop completely changed) and he totally freaked out about the potty.  ::whompwhomp::  I was a little heartbroken, but hey - he could't walk how could I expect him to regularly use the potty?

After that I would still put him on the potty but I never pushed it.  He had sorta lost interest in it.  Then The Sailor got back from deployment, and I got pregnant, and every time I would put him on his little potty he would just stand up since he could walk.  I got to the point where I thought he was gonna be in diapers for a loooooong time since once BabyDeux got here there was no way I was going to be able to potty train a toddler while caring for a newborn.

Then I got the idea to try and put him on the big potty (with a topper on it) so he couldn't just walk away....and it worked!  This was probably a month before a decided to ditch the diapers.  I started putting him on it whenever it was convenient for me again; sometimes he would go, sometimes he wouldn't.  Then one day he walked up to me, handed me his potty topper, and signed please.  As soon as I put him on the potty he peed and I accepted he was ready.

I picked a date to ditch the diapers about two weeks in the future to mentally prepare myself and made him some training pants.  I started offering him the potty regularly throughout the day instead of just when it was convenient for me and as long as I offered it every two hours or so he'd have clean diapers all day!

I originally planned to do a "three day potty camp" where you essentially camp out in the kitchen (for easy clean up) and pump your kid full of salty snacks so they drink (and thus pee) a lot and essentially dedicate three whole days only to using the potty.  But, because of my back we lasted about 2 hours in the kitchen then just went back to normal life in the house just W was naked for easy potty access.

And he's been out of diapers while he's awake ever since.

For the most part at home he's completely naked or just in undies.  When we leave the house he's in undies and cloths.  If we're leaving during nap time I bring a diaper to put him in knowing he'll pass out on the car ride home (since he does still wear diapers for naps and night time).  He's had two accidents in clothes - one he was asleep in the car seat with The Sailor (he passed out and peed, really can't hold it against him) the other was at a birthday party and he started to wet his pants but finished on a toilet.  He's also had a bunch of starts of accidents at home, but he's generally naked so I just swoop him up and toss him on the toilet for him to finish but those have become few and far between.
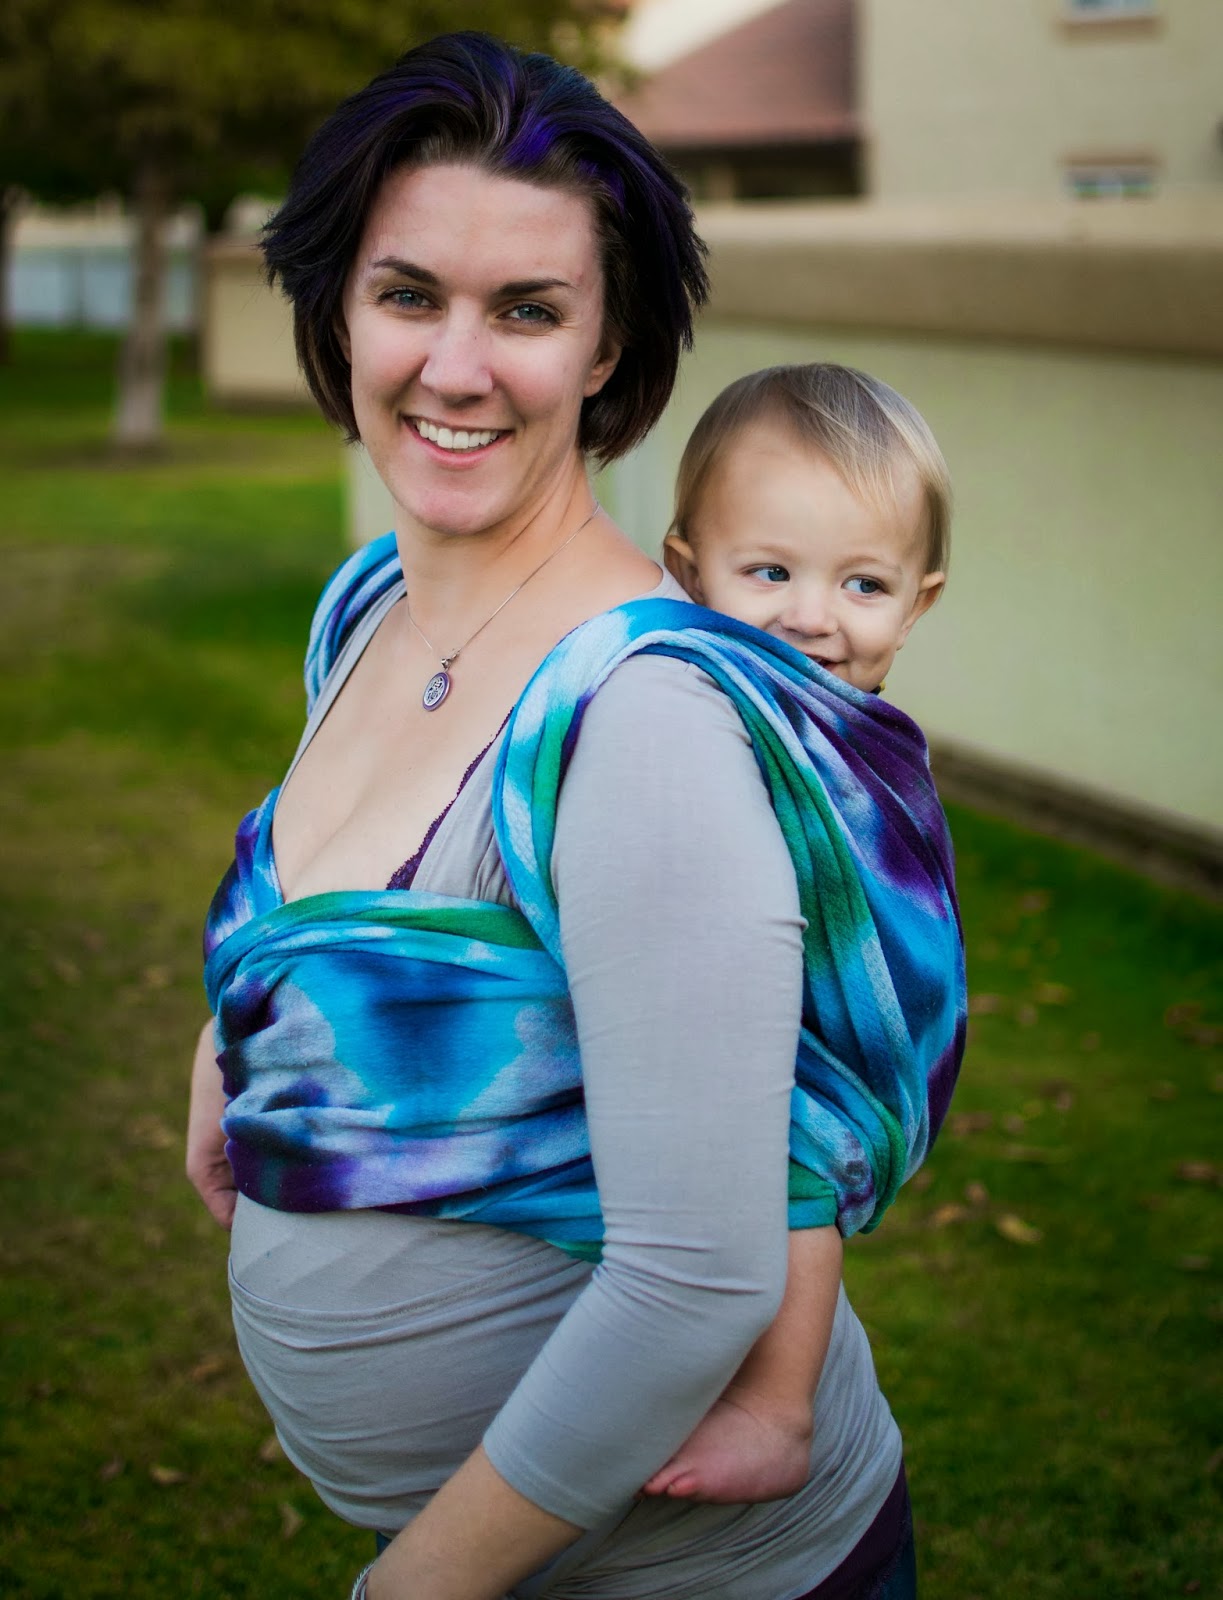
Chillin in his undies
So yeah...how did I get my 17 month old out of diapers?  Early introduction.  It was never hard for us to do, honestly.  Like I said, in the early days I never went out of my way and he essentially let me know when he was ready to ditch the diapers.  If you introduce a potty early you will know when your child is ready.  Just trust in that.

I also do give some credit to the fact that we cloth diaper.  Since disposables do such a good job keeping babies dry-feeling they don't really know when they've peed, whereas with cloth it's easy for them to tell.

Since that is more than enough information I'll do a follow up post with tools that helped us along the way,, and as usual if you have any questions don't hesitate to ask!

Sunday, September 22, 2013

Reupholstering Tips and Tricks - AKA First big nursery project!!


Yeah...check that shit out^^  Coolest Dr. Seuss nursery chair everrrrr, right?!?

So, I wish I could give you a step by step guide detailing exactly how to reupholster a chair - but I can't.  The fact of the matter is every chair is different and that makes the process of stripping it down and reupholstering it different.  The general idea of it is simple - carefully pull off all the fabric, use that fabric as a template to cut out the new fabric, then put the new fabric on just like you took the old fabric off.  Easy peasy, right?

Well here are a few tips and tricks for you...

  • Give yourself plenty of time.  I spent hours just pulling out staples.  This is not a process that is going to be completed in a day.  Maybe if you have a few people and a lot of patience you could finish it in a weekend, but I recommend spreading it out over a bunch of days so you don't give yourself carpal tunnel.
  • I used a flat head screw driver and needle-nose pliers to pull out all the staples, it worked quite well.
  • Save everything you pull off!!  Seriously!  Every scrap of cardboard, random spikey thing, and piece of fabric.  Saving everything will make it a million times easier to reassemble it.
  • Label everything.  Where it goes on the chair, what order you pulled it off in, which part of it pulled up first, etc.  I just used a sharpie and wrote right on the panels where they went and all the details that would help me successfully replace it with new fabric.
  • Don't expect perfection.  Seriously, this is true of all my projects.  If I wanted or needed it to be perfect there's probably someone out there I can pay hundreds of dollars to do it for me and there's a reason why they charge so much - this shit is time consuming!  There are some snags in my fabric from me stapling wrong and the back of it is a little wonky (I didn't have quite enough fabric but whatever...who's going to be looking at the back??)
So here's what you need - 
  • A cheap piece of old furniture that hopefully was built well but just needs a facelift (you don't want the frame of the chair to be falling apart, just the fabric!)
  • Flat head screwdriver and needle-nose pliers (to remove staples)
  • Upholstery fabric - no not waste your time and get fabric that isn't heavy enough to be considered upholstery fabric...it will fall apart and then you will have wasted hours of your life for nothing.  I did, however, decide I could use a non-upholstery fabric on the parts that won't get much wear and tear and I think it was a safe decision (the blue Lorax tree print is just normal cotton, not upholstery weight fabric).  I calculated how much I would need after I ripped off all the fabric.
  • A staple gun.  I have a fancy one my Dad got me for my birthday (after I reupholstered my kitchen chairs with just a hammer and upholstery tacks he decided I needed a staple gun) but you could use one of those old school plain ones (like this) - it would just take longer.
  • A seam ripper to disassemble the cushions 
  • And if you're like me...a hot glue gun.  Yes, I hot glued some parts, but I'll never tell you which ones (muahahahahaha) <--not sure why I'm evil laughing about that
I got the chair used from someone on base and it actually reclined (the foot part doesn't pop out, it just reclines) but not very well.  The Sailor actually re-did all the mechanical bits so now it reclines smoothly.  It cost $20.  Then I spent about $50 on fabrics (from onlinefabricstore.net and fabric.com).  

There is some sewing involved to make the covers for the cushions (just like the rest of the chair you pull the cushion apart - with a seam ripper - and use the pieces as a pattern for the new cover).  For this chair I was able to save the zipper on the bottom cushion but the back cushion was originally attached to the chair itself.  I decided it would be easiest for me to make it another cover so I had to get a long zipper for that which also cost me a few bucks. 

I would say I spent between 25 and 30 hours on the chair in all spread out over a bunch of days over two weeks.  But, I'm absolutely in love with it and it cost us less than $75 in all!


After I finished reupholstering it instead of putting back on the feet The Sailor turned it into a rocking chair!  He used scrap wood and the screws that were originally holding on the feet so again, no cost to us.  It took two tries to get the curve right for a rocking chair but still didn't take him much time at all.


So now it reclines and rocks and is gorgeous.  It will be the perfect visual centerpiece for BabyDeux's Dr. Seuss nursery and it will be mighty comfy for all those middle of the night nursing sessions in my future!


Template by BloggerCandy.com | Header Image by Freepik