

So, I decided I wanted a shortie (AKA a short - size 2 or 3 - wrap that could be used for quick, single-pass carries) and I needed a sturdy wrap to do the job with my 25 pound toddler. An all cotton wrap wouldn't cut it, so I either wanted to get a linen blend or a hemp blend since those tend to be more supportive than all cotton wraps (I promise I'm going to do a post solely about woven wraps eventually). Well, linen and hemp tend to be more expensive, and I really didn't feel like spending a small fortune, so I decided to by a less expensive but plain looking wrap and dye it myself.
The wrap I chose is a Colimacon et Cie Biotiful wrap from Risaroo. For a 6 meter long wrap (which is like, the longest wrap I've ever heard of) I would have more than enough to make a size 3 (3 meters) as well as a long ring sling and the wrap only cost $123 shipped. If you're looking to spend even less money and are handy with a sewing machine, you could go to your local fabric store and buy a length of either 100% linen fabric or Osnaburg (which would be found with the utility fabrics) and hem the ends of it. Take into consideration the fact that if you're buying fabric to sew and dye, it will shrink a good bit, so you'll need to buy more than you actually want. Apart from the wrap, here are the supplies you'll need:
- Professional Textile Detergent
- Soda Ash Fixer
- Fiber Reactive Dyes
- Mask
- Gloves
- Large plastic tub
- Cooling racks
- Ice
It is very important that you use fiber reactive dyes. I like Dharma Dyes (and they ship very quickly), or you could also use jacquard dyes. You should not use dyes like RiT on baby products. RiT, although readily available at craft stores and grocery stores alike, just kind of coats the fibers of your fabric with color and bleeds off over time...onto your baby. Fiber reactive dyes, on the other hand, actually chemically change the fabric, so it isn't going to bleed off onto your baby (and, consequently, the dye job won't really fade unless you leave it sitting in the sun or wash it improperly).
First you need to wash your fabric. Technically you could use any detergent, but I like to use Dharma's detergent because I know it works well (for before and after dying the fabric). If the fabric isn't cleaned properly, you could end up with a splotchy or uneven dye job.
Next, you'll want to soak the fabric in a Soda Ash solution (1 cup of soda ash for every gallon of water) for 15 minutes. Soda ash is what makes a fiber reactive dye permanent.
After that, you'll need to place your racks (I just use cookie cooling racks) in your plastic bin. These keep your fabric out of the puddle of dye that will accumulate as the ice melts.

Next, you need to put your soda ash-soaked fabric on top of the racks. You need to wear rubber gloves while handling your fabric after it has come in contact with the soda ash. You can take the time to accordion-fold the fabric, or do it like me and just scrunch it up. For more of a tie-dye effect you could twist and tie up your fabric as well.

Then you completely cover your fabric with ice. Smaller pieces of ice work better than large chunks, or you could even use snow if it's winter time!

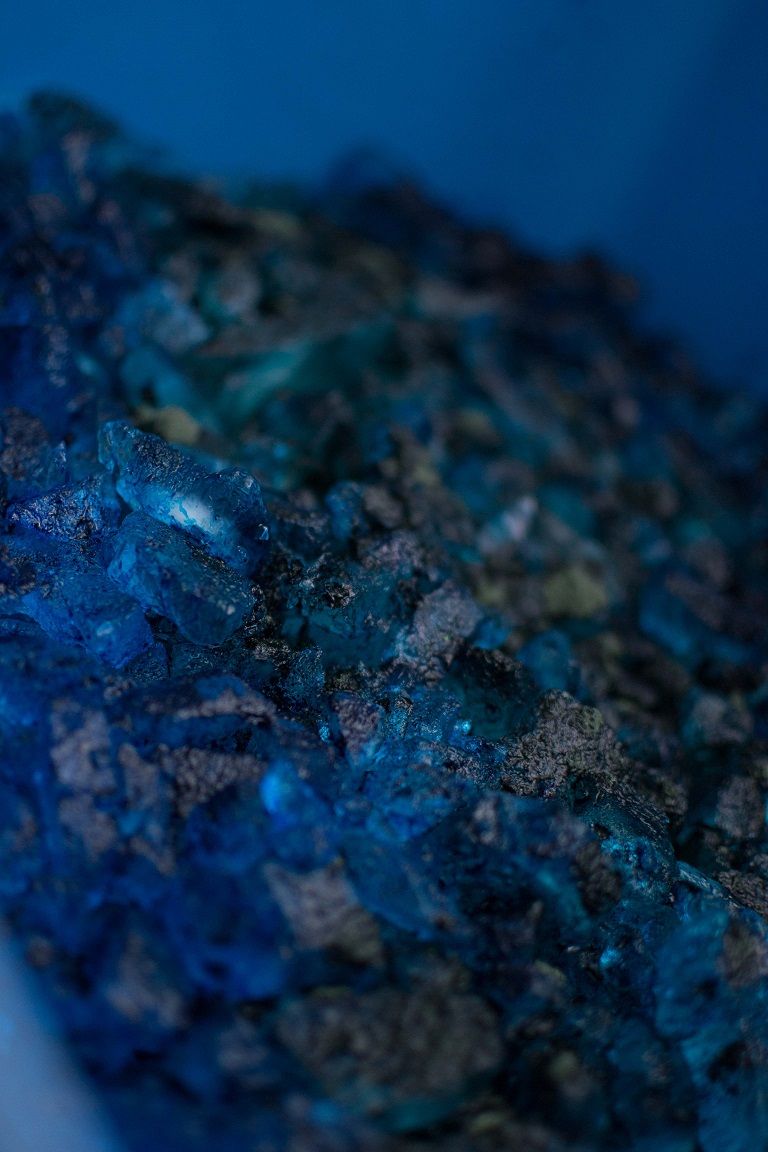
Next you sprinkle dye over your ice! I used Caribbean blue, Jade green, and chartreuse. Make sure all the ice is covered in dye, but don't overdo it or your colors will get muddled together. Plus, if you don't use enough, you can always dye again, you can't un-do using too much dye without completely stripping the fabric.


Then, you wait while the ice melts.

And you wait some more...

Even after all the ice has melted you can't just start rinsing. The longer you let the dye sit, the brighter the colors will be. You should really wait at least 8 hours after all the ice has melted. And with blues, it's important to wait even longer, so to help the dye set I actually put the wrap in a trash bag and placed it out in the sun.


All my ice was melted by the time I got up in the morning, I waited until noon to put it out in the sun, then waited until 4 to start rinsing. Instead of just sitting it under running water, I actually put it straight into the washing machine and do two rinse and spin cycles, then a full wash with the textile detergent, then two more rinse and spin cycles. After all that, the water ran clear so I knew I got all the dye out and I threw the wrap in the dryer (on low heat).

But, I wasn't in love with how it turned out. There were too many white patches and the chartreuse turned out more of a sunshine yellow.

So, I waited a few days to accept my defeat and started the process all over again. This time, after soaking it in soda ash once again, I used Caribbean blue and jade green just like I had before, but then instead of chartreuse I used plain turquoise.
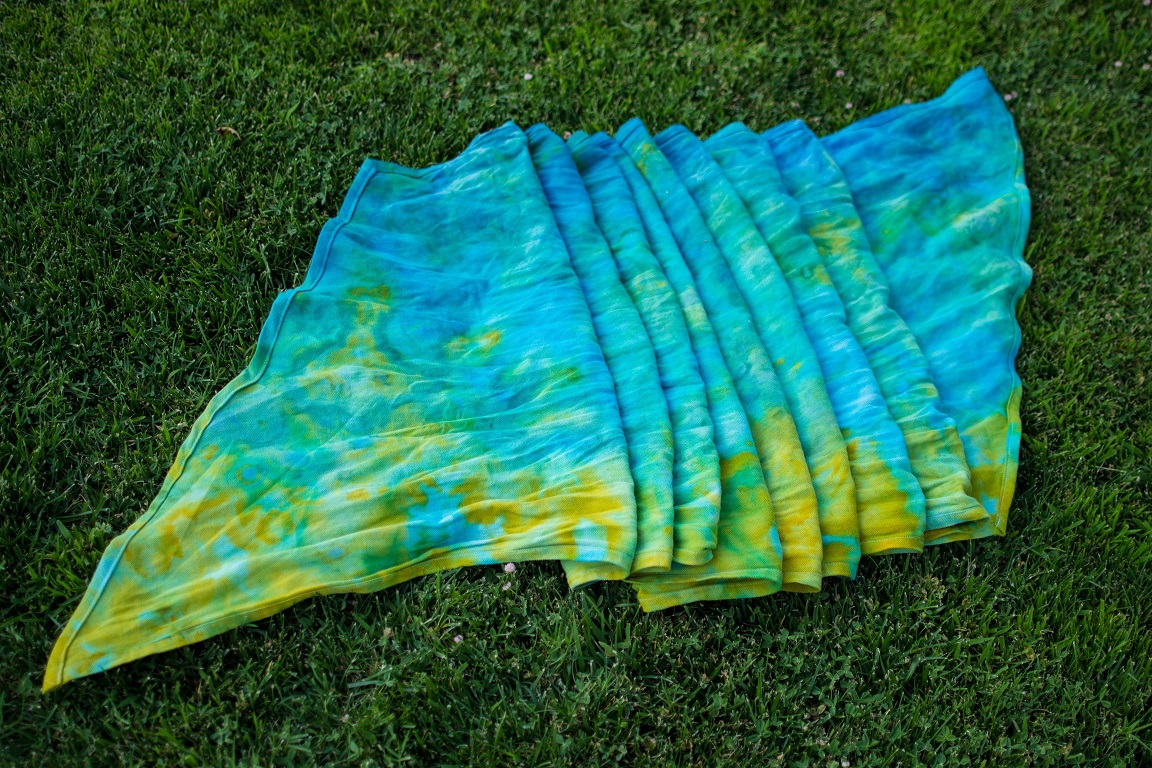
The timing was even pretty much the same; the ice was melted by morning, around noon I put it out in the sun, and started washing by 4 pm. But this time, the results were spectacular...


Oh my goodness, I loved it! This picture is probably the most true to color:
All that was left to do was to chop it (like I said earlier, I wanted a 3 meter wrap) and hem the chopped edge. And instead of sewing a tag on for a middle marker (a lot of carries start in the middle of the wrap, having a middle marker makes it easy to start the carry) I embroidered a starfish since the colors were inspired by the ocean.

I really am loving it! I'm getting much better at a ruck tied under bum (a back carry) and a simple rebozo (a front carry) and it has been great for quick wraps.


And yesterday W even fell asleep while we walked from a restaurant out to the car (as in, within a few minutes) in it!

Have you ever dyed any fabric? It's actually quite addicting!


Love this idea! Very "busy mom" friendly.
ReplyDeleteLove this tutorial! I've decided to make my own wrap & figure this should be a great way to dye it! Thanks :)
ReplyDeleteThinking of using this method to dye a size 6 red and blue. I want the colour to be quite chunky... any tips? Thinking dip dyeing might work well but haven't the time or resources right now... :)
ReplyDeletefor these dyes i could use on a osnaburg wrap correct??
ReplyDeleteI love your wrap! Great tutorial!
ReplyDeleteI would like to hand dye my own cotton hemp baby carrier that could last me from newborn to toddler.
ReplyDeleteWatching videos it seems that stripes make it easier for people to wrap the baby (since you know what is below and above.
Any tips or advice